we'll cover two import topics for the class: git for version control and quick basics of web development
Git
    GIT - the stupid content tracker

"git" can mean anything, depending on your mood.

    - random three-letter combination that is pronounceable, and not
    actually used by any common UNIX command.  The fact that it is a
    mispronounciation of "get" may or may not be relevant.
    - stupid. contemptible and despicable. simple. Take your pick from the
    dictionary of slang.
    - "global information tracker": you're in a good mood, and it actually
    works for you. Angels sing, and a light suddenly fills the room.
    - "goddamn idiotic truckload of sh*t": when it breaks

This is a stupid (but extremely fast) directory content manager.  It
doesn't do a whole lot, but what it _does_ do is track directory
contents efficiently.
 - Linus Torvalds, Apr 7 2005
    first git commit readme
What is git?
Git is an open-source distributed version control system that allows clean tracking of edits to a development project (often a software project).
let's break this down with a familiar example: writing a paper. messy version control is when your folder starts to look like
    paper_draft.docx
    paper_draft_2.docx
    paper_draft_3.docx
    paper_final.docx
    paper_final_revised.docx
    paper_final_revised_submitted.docx
    paper_final_revised_submitted_v2.docx
as we all know, this quickly becomes a mess and it's difficult to track which version is which, especially after time passes and you forget what you did. the mess only gets worse when the project your working on has more than one file with complicated dependencies AND/OR more than one person is working on the project. not to mention, saving multiple copies of the same file is a waste of memory space, which can be valuable when codebases get large.
git is a solution to this. git sets up a "hidden" folder (`.git`, hidden because it starts with a dot) in your project directory which will save the current state of the project every time that you "save" your work. in git lingo, "saving" your work is done by performing a "commit" command, or (less commonly) a "stash" command. when you commit your work, git stores a diff of the changes that have been made since the last commit as a "commit object" in the .git folder. the commit object contains a unique hash for identification and a (user defined) message describing the changes that were made.
We will discuss how to interact with git and git commands in the coming sections, but for now it's important to understand: git is a software tool that helps you track changes to a computer directory (typically a software project) in a clean and organized way.
What is GitLab?
Gitlab is the web-based git manager that allows the project to be hosted in the cloud or on a secure server for global access - aka many people from many different places can make changes to the .git folder at once. compared to git in our previous example looking at a project in a single directory - gitlab now allows us to sync changes from many different machines to a common "global" directory that is hosted on the GitLab server. noting that similar to before, the project will only sync when you send it a command to do so (it's not like icloud or dropbox where a folder is continuously syncing to the cloud). in git lingo, the commands to sync changes from your local machine to the global directory are called "pull" (to bring change from global to local) and "push" (to send change from local to global).
Gitlab also has a ton of other features to manage all sorts of DevOps functions like issue trackers, wikis, CI / CD pipelines, and user privileges management. You may have also heard of GitHub or BitBucket - they're the same thing, just different companies with different servers tailored to slightly different customizations and applications. In CBA, we use GitLab because it's the only one that allows us to host our own server.
How do we use git?
you can interact with git through the web interface or through the command line. it's strongly recommend, borderline required, to use the command line to interact with git (or your IDE's built in git integration if you're using an IDE, just something local to your machine rather than the internet).
if you're not familiar with the command line at all, here are some friendly introductions :).
first, some git vocab:
- clone: copying a global repository from GitLab to your local directory
- pull: update your local branch to match the changes that have been made in the global repo
- branch: a moveable pointer to designate the linear history of one working version of the current project. this won't be super important for this class, since you will be doing all of your development on the master branch.
- staging/add: the limbo state when files have not yet fully been commited to a branch, but a snapshot of their current state has been saved. the add command is used to add files to the staging area
- commit: the snapshot that is saved to the git history. it is designated by a hash, author, date, and commit message
- push: send local commits to the global project. whatever you push will be visible to everyone and downloaded onto everyone else's computer on their next pull!
the general workflow is:
- clone the global repository to your local machine
$ git clone [url or ssh]
make edits / do work in the directory that you just copied. when you're done working and ready to commit your changes (once you are done with a specific feature or task or at least once a day - over committing is never a bad thing), then walk through the following commands:
- check the status of your local branch to see what files are ready to be staged
$ git status - add the files that you want to commit to the staging area
$ git add . - run git status again to make sure that you are only about to commit the files you want to committed
$ git status - commit the changes to your local branch with a commit message (message required)
$ git commit -m "commit message" - push the changes to the global repository
$ git push
How do we use it in this class?
In this class, you will each have your own git repository which you will use as your project development space through the whole course. This repo is yours and only yours - i.e. other people won't be pushing changes to it. For collaborative weeks, i.e. machine week, you will be working with a team in a shared repo - this may get a little more complicated since you need to pull changes that other people made from the global repo to your local directory.
configure git
If you have macOS or linux, you most likely have git installed on your computer already. Check by opening the command line and running $ git --version. if you do not, follow the instructions here to install it. There are a ton of resources online to help you get familiar with git from the command line, the GitLab guide is a good place to start.
basically, you will create a global configuration for your local git using your GitLab username and email. This will allow all of the commits that you push to the global branch to be tagged with your username, so that a history of the project contributions can be saved.
GitLab needs some way to authenticate your local git against your account on the global server every time you pull or push changes. This can be done two different ways:
- https authentication: git clone the repo with HTTPS - this will require you to input your credentials (gitlab username and password) every time that you clone, push, or pull. This is fine, but it gets a little tiring to enter your password every time, so it's recommended to use vvv
- ssh authentication: you setup a secret key which is added to both your computer and in your gitlab account. then when you clone, push, or pull, git checks the path where you have saved the ssh key to verify your credentials. a guide on how to set this up can be found here. Note that when setting up your rsa key, you do not need to make this file password protected, it's an unnecessary level of security for our use cases.
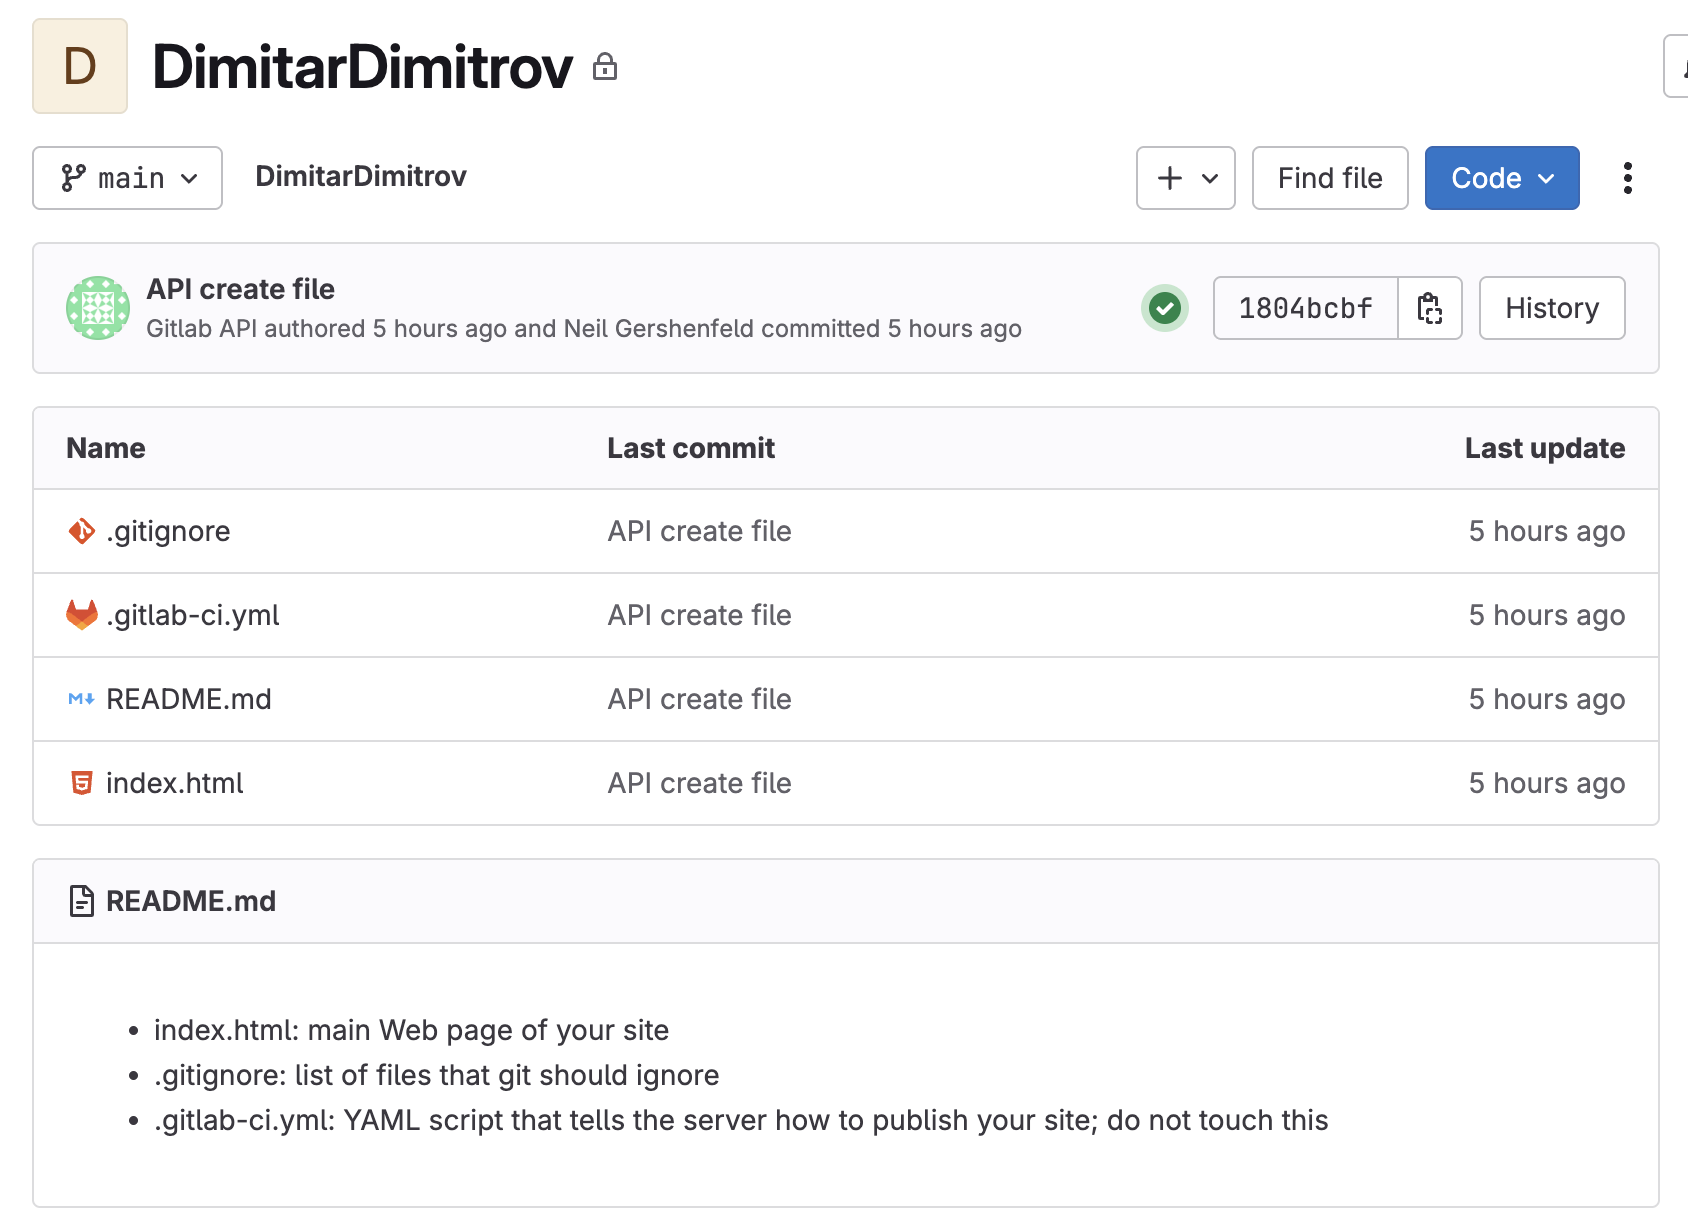
setting up your site
your repos have already been set up with a .gitignore file, .gitlab-ci.yml file, README, and index.html file.
to clone your repo, click the blue "code" button and copy either the https or ssh link (depending on how you configured your remote access, ssh preferred). then open your terminal, navigate to the directory where you want to clone your repo, and run the following command:
$ git clone < copied url or ssh link >
You can open the files in whatever editor you are most comfortable in (if you are unfamiliar with all, I recommend VS Code). The changes are on your local copies of the files and will not be visible to anyone else in the class until you stage → commit → push them.
Once you are happy with your changes ALWAYS run the git status command. This will tell you what files you have changed, how far ahead you are from the remote repo, and what will be added to staging. If you are happy with the files listed as “modified” or “untracked” from git status, then run
$ git add .
this will add all of those files to the staging area. If there are many modified files and you only want to commit changes from a few, you can specify which files to commit by calling them by name, for example
$ git add index.html
Once you have files staged, you can commit them with
$ git commit -m "type out commit message"
finally, to push your changes to the global repository, run
$ git push
if you are working with a team, you will need to pull changes from the global repository to your local directory before you can push your changes. To do this, run
$ git pull
IMPORTANT GIT RULES
Don't push large media files!!
you will be documenting and recording your work for the class in this repo, which can quickly fill up a lot of space if you upload many high quality videos or photos - each git repo has a storage limit. As Neil will point out many times, if everyone is pushing large image or video files (> a few hundred KB) to each week's page, this quickly adds up to a huge amount of storage, not to mention it's unnecessary for web-resolution images. Be sure to compress your image files before adding them to the staging area. ffmpeg is a good tool to do this. Neil has a cheat sheet of ffmpeg commands here.for the python folks, I wrote a python command line script that runs ffmpeg to automatically compress and overwrite images in a given directory - feel free to modify it for your needs. img_format.py
always run git status
it's just a good habit to always check what will be staged, what is left out, how many commits ahead you are from the last time you pulled, etc.
For example, on MacOS there are typically hidden directory metadata files called '.DS_Store' which can unnecessarily sneak into git commits. they can be added to .gitignore (more info here), but it's always good practice to check for things like that.
be prepared to resolve merge conflicts
you will most most likely run into a merge conflict at some point throughout the semester. This happens when you forget to pull changes made to the global repo or when you pull the latest version of the remote repo, and in the amount of time that it takes you to stage and commit and push your changes, someone else has already push the remote branch to a newer commit. To avoid this, it's best practice to always run a $ git pull right before running $ git commit (after staging with $ git add ). But when you inevitably clash with someone else, it's not a problem - you'll just need to work through a merge request which shouldn't be an issue since each person should be making their changes in their unique directory. Follow the git warning/error messages to resolve the conflict or learn more here.
When all else fails (or even before then), you can always clone a fresh version of the global repository and copy your modified files into the clean directory.
someone will probably break a repo
it's ok. the beauty of git is that nothing can really be deleted or lost (only hidden in a complicated net of old commits) and arguably the best way to learn git is to seriously screw it up once and have to dive deep into debugging :-)
git resources
- git cheat sheet
- git tutorial for beginners
- previous years recitation materials: 2024, 2023 (before 2024 every section shared a single repo so things were a bit more complicated, but some content is still relevant, albiet mostly a repeat of what's already here)
- the book on git
- Tome Preston-Werner's explanation of git: the git parable (this guy founded github)
basic web development
the ongoing assignment of the course is to build a website that documents your work throughout the weeks. the website can be as simple or complex as you want (raw html is fine, as long as it documents your work), and it can develop throughout the semester as you get more comfortable with web development.
websites are built from three main languages:
- html (hypertext markup language): provides the structure and content of the site. this is the "entry point" to the site - it's the first thing your browser calls from the server when you type in a web address.
- css (cascading style sheets): controls the style of the site. when you write a new object in the html file, the css is called to stylize it (where it is placed on the page, how it's sized, colored, or formatted, etc). CSS can be written directly in the html file with the
<style>tag (at the head or before each element) or in a separate css file which is imported into the head of the html file. - javascript: adds interactivity to the site - it can be used to add animations, event listeners, and other dynamic behavior. javascript enables the browser send requests and responses to the server. For example, when you click a button or submit a form, javascript is used to send this data to an external database - this is different from a button or input form in vanilla html where the user input is trapped in the browser session. javascript can be written directly in the html file with the
<script>tag, but more commonly it's written in a separate .js file. javascript is a full programming language and is more powerful than html and css - js has the ability to edit the html and css files dynamically, so you will see websites that are written entirely in javascript with only a html scaffolding that loads the script file.
to learn, I recommend just diving straight into examples by inspecting other peoples sites from previous years - most browsers have build in developer tools that allow you to view the html, css, and js code for each website that you visit. In chrome, you can right click on any page and click "inspect" to view the dev tools. try it on this page! this site is written in raw html with a css framework ( sakura css) linked in the head to generate the simple styling, and the gitlab repo can be found here.
here's a non-exhaustive list of methods you can use to build documentation sites in order of increasing "complexity":
1.
css templates / frameworks are a super simple and easy way to get started - you write plain html, link the framework as a stylesheet to the html head, and done. development is done directly in the same repo where the final site is hosted (i.e. your class repo). and no javascript required.
- cssbed is a site that lets you preview and source many different classless css themes
- neat is a ultra-tiny css framework
- pico is a css framework that seems to also semantically interpret your html tags to make better looking styling decisions
- css zen garden is a tribute to the beauty of css (no javascript) where you can preview different stylesheets and see more complicated examples with css classes in action
2.
if you like writing everything in markdown, strapdown.js is a simple js script that you paste at the end of an html file that converts your markdown text to formated site.
3.
if you like writing in markdown, and want to move away from any raw html, you can use a static site generator. these are tools that convert a folder of markdown files (and other lightweight scripting languages for templating) into a website.
the "static" term refers to the fact that all of the html,css,js needed for the site lives on the server and is simply sent to the browser when queried (as opposed to a dynamic site which is described by code that lives on the server and is executed to generate dynamic html,css,js content on the fly). if you use a static site generator, you will develop your website in a separate repo (or locally on your machine, but I recommend you back up your work with a git repo), 'build' the site in this development repo, and then copy the built files into your class repo. some popular static site generators are:
- jekyll for easy blogs, useful with liquid for more dynamic templating
- hugo very similar result to jekyll, but written in go and much faster for larger sites and uses golang for dynamic templating, slightly more complicated to set up
- astro is a static site generator by default, but it can also support more dynamic interactive components with their island architecture
4.
then at the top of the complexity stack, there are full-stack web frameworks like next.js, remix, django, and rails, which can build more complex websites that run server-side code to generate dynamic content. these are overkill for the sake of documenting your work in this class, but can be useful for more advanced web applications.
and finally, AI is changing the game. it's really good at building simple websites / blogs. that said, it writes overcomplicated, convoluted code that can be difficult to debug without knowing the basics of html, css, javascript and how they relate to one another so it's worth your while to learn the fundamentals. While I advocate for experiencing the painful satisfaction of writing html and css by hand atleast once in your life to pay homage to our geocities ancestors, cursor/chat gpt/claude/etc can be a useful tool to get going - just make sure you are properly citing your AI support!!